Minecraft Simple Survival House Guide: Survive Your First Night Safely! 🌙
You’ve stepped into the Minecraft world and the sun is about to set! Spending that ominous first night without shelter means becoming an easy target for Creepers, Zombies, and Skeletons. But don’t worry. This comprehensive guide will help you build a quick, easy, and most importantly safe starter house (Simple Survival House) for your first night in Minecraft.
Contents
- Why Build a Simple Survival House?
- Required Materials: Starter Inventory ⛏️
- Step-by-Step Building Guide 🧱
- 1. Foundation and Floor (00:30 – 01:45)
- 2. Walls and Windows (01:45 – 03:00)
- 3. Roof Construction (03:00 – 04:30)
- 4. Interior Design and Functionality (04:30 – 06:00)
- Pro Player Commentary: “Kayra The Builder” 🌟
- House Improvement Ideas (Level Up!) 🚀
- Conclusion: You’re Ready for a Successful First Night! ✅
This starter house is so simple that after gathering the basic materials, you can complete it in minutes by following the steps in the video. Lay the foundation of your survival adventure now!

Why Build a Simple Survival House?
The key to progressing in Minecraft Survival mode is resource management and timing. On your first day, instead of building a massive castle, you should focus on a Survival House that will protect you from monsters and meet your basic production needs.
A simple shelter:
- Provides Security: Its most important function is to prevent hostile mobs that emerge at night from reaching you.
- Sets Your Spawn Point: By placing your bed, you eliminate the risk of respawning far away from your valuable items when you die.
- Meets Basic Needs: It houses your vital equipment such as furnace, crafting table, and chest.
- Quick to Build: As you can see in the video content, this Minecraft house building project will take you at most 5-10 minutes.
The house in this Minecraft Guide meets exactly these requirements: compact, stylish, and functional.
Required Materials: Starter Inventory ⛏️
Before starting construction, you can find the list of materials you can quickly gather below. Everything you need for this simple house is available in the natural environment.
| Material Name | Quantity (Approximate) | Usage Area | Priority Level |
| Oak Wood/Planks | 5 Stacks (320 pieces) | Frame, walls, roof and floor | ⭐⭐⭐⭐⭐ |
| Oak Stairs | 40-50 pieces | Roof Slope, Aesthetic Layer | ⭐⭐⭐⭐ |
| Oak Slabs | 20-30 pieces | Roof, Entrance Step | ⭐⭐⭐ |
| Glass Panes | 1 Stack (64 pieces) | Windows, Lighting | ⭐⭐⭐⭐ |
| Oak Fence | 10 pieces | Balcony Railing (Optional) | ⭐⭐ |
| Cobblestone/Stone | 1 Stack (64 pieces) | Furnace crafting (Required) | ⭐⭐⭐ |
| Door | 1 piece | To keep monsters outside | ⭐⭐⭐⭐⭐ |
Note: Focus on wood resources when gathering materials. Chopping trees is the first and most important task in Minecraft Survival.
Step-by-Step Building Guide 🧱
Staying true to the video guide, we will complete this Minecraft House Building process in four main stages. This guide follows the details of the video.
1. Foundation and Floor (00:30 – 01:45)
This stage determines where your house will stand.
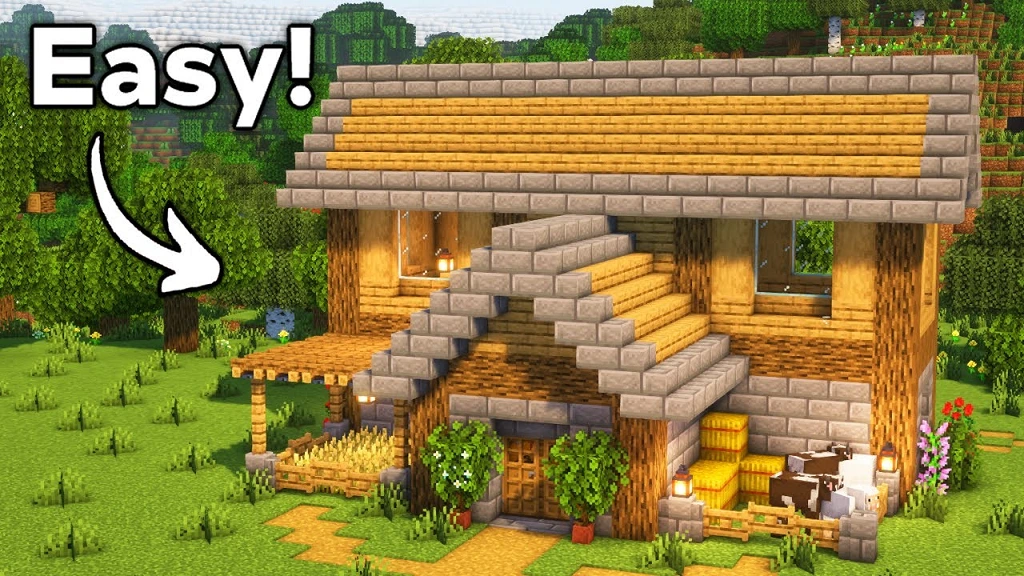
- Floor Preparation: First, mark out a 9×7 block rectangular area. Clear all blocks in this area and replace them with oak planks. This will give the interior a warm appearance.
- Frame: Place oak log pillars 4 blocks high at the four corners of the floor. These pillars are the main supports of the building.
2. Walls and Windows (01:45 – 03:00)
Walls are the basic structure that will protect you from hostile mobs.
- Building Walls: Build walls between the main pillars using oak planks. Make sure you’ve closed all walls to prevent monsters from entering.
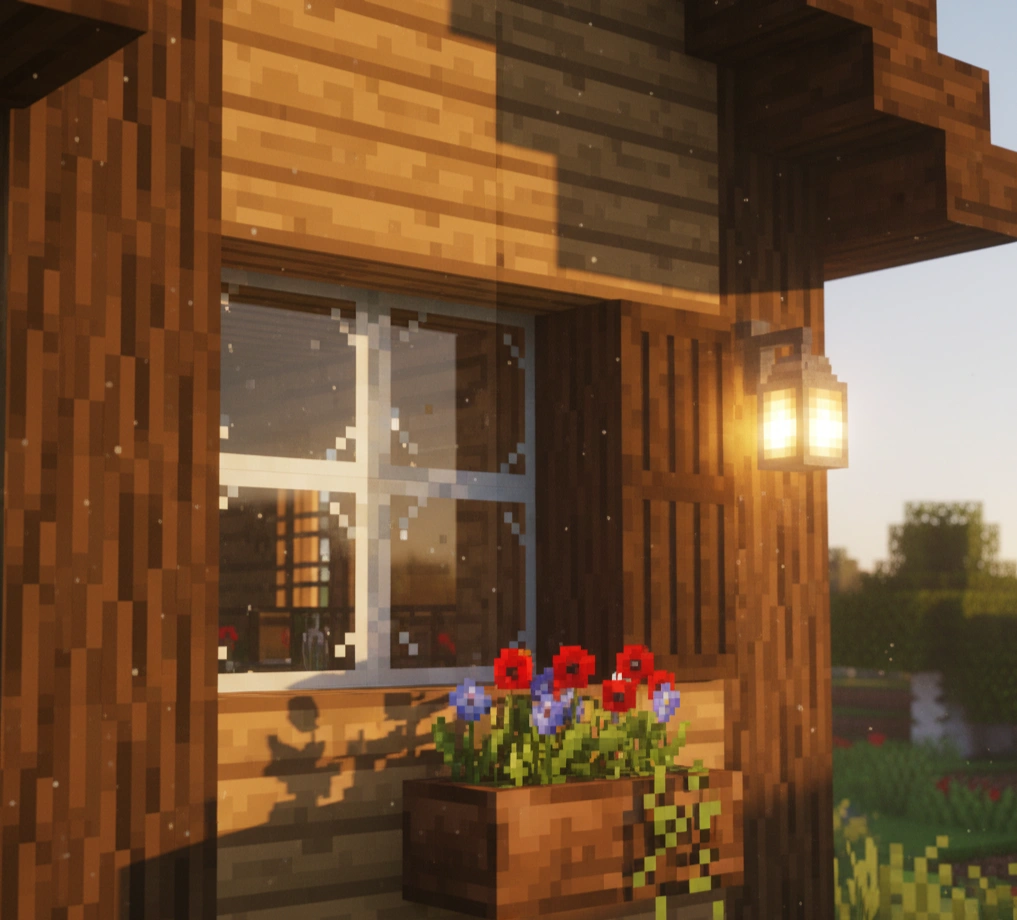
- Window Openings: Leave window openings for aesthetics and interior lighting. The video prefers symmetrical openings that allow plenty of light. Place glass panes in the openings.
3. Roof Construction (03:00 – 04:30)
The roof defines your house’s character and protects from rain/sun.
- Roof Slope: Start the roof by placing a row of oak slabs around your house. Then use oak stairs to build up layer by layer. Make sure the stairs are facing the right direction, otherwise the aesthetics will be ruined.
- Roof Center: When you reach the top of the roof, close the center with oak planks or oak slabs. This prevents monsters from spawning on your roof.
4. Interior Design and Functionality (04:30 – 06:00)
What makes a Survival House livable are the items inside.
- Door: Place one door on the front. Always remember to close the door!
- Crafting Table: Place a Crafting Table (essential for the Minecraft Guide) in a corner of the house for basic crafting.
- Furnace: Place a Furnace for cooking food and smelting ore.
- Chest: Place a Chest to store your items and keep them safe from monsters. Create a large chest by placing two chests side by side for more storage space.
- Bed: Set up your bed! This sets your spawn point and allows you to skip through the night quickly.
Pro Player Commentary: “Kayra The Builder” 🌟
Commentary on this simple starter house from “Kayra The Builder,” who has been building professional structures on Minecraft servers for many years and has completed Survival mode many times:
“This structure is the smartest and most efficient choice a player can make for their first night. Beginners often get caught up in aesthetics and waste too much time. But in Survival, time means your life. This 9×7 Survival House provides maximum protection with minimum resources and offers the ability to observe the surroundings from inside thanks to its large windows. My pro tip to add: Place a trap block right in front of your door (for example, a two-deep hole with lava inside). This will neutralize careless Zombies wandering around at night and especially annoying Creepers. Remember, the simpler it is, the faster you’ll be safe. Start your Minecraft House Building adventure with this foundation, then improve it later!”
House Improvement Ideas (Level Up!) 🚀
After surviving your first night, it’s time to turn your Simple Survival House into a base. As the final section of this Minecraft Guide, here are some improvement ideas:
| Improvement Area | To-Do List | Why It’s Important? |
| Mining Entrance | Open a tunnel with a ladder descending directly from your house floor to the mine. | Provides safe and fast mine access. |
| Farming Area | Set up a fenced wheat, carrot, and potato farm right next to your house. | Guarantees unlimited food source. |
| Automatic Door | Make your door pressure-sensitive with a simple redstone circuit. | Provides quick entry and exit and increases your preparedness level against monster attacks. |
| Hidden Chest Room | Create a hidden compartment underground or behind a wall to hide valuable items. | Keeps your items safe on servers (Multiplayer). |
| Aesthetic Details | Beautify the house exterior with flower pots, stone paths, and lamps. | Increases your motivation during long-term Minecraft Survival experience. |
Conclusion: You’re Ready for a Successful First Night! ✅
Congratulations! Thanks to this step-by-step guide and the visual narrative in the video, you have everything you need to survive the first and most challenging night in Minecraft. Your Simple Survival House is now a safe haven protected from enemies, equipped with basic production stations, and providing you with a spawn point.
Remember, this is just a beginning. You can expand your Survival House over time and enrich it with different designs (stone, brick, different wood types).
We hope this Minecraft House Building guide has been useful! Which topics would you like to dive deeper into? Maybe we can explore Redstone Automatic Door construction together?

