Minecraft Starter Survival House: Spend Your Safe First Night in a Stylish Shelter! 🛡️
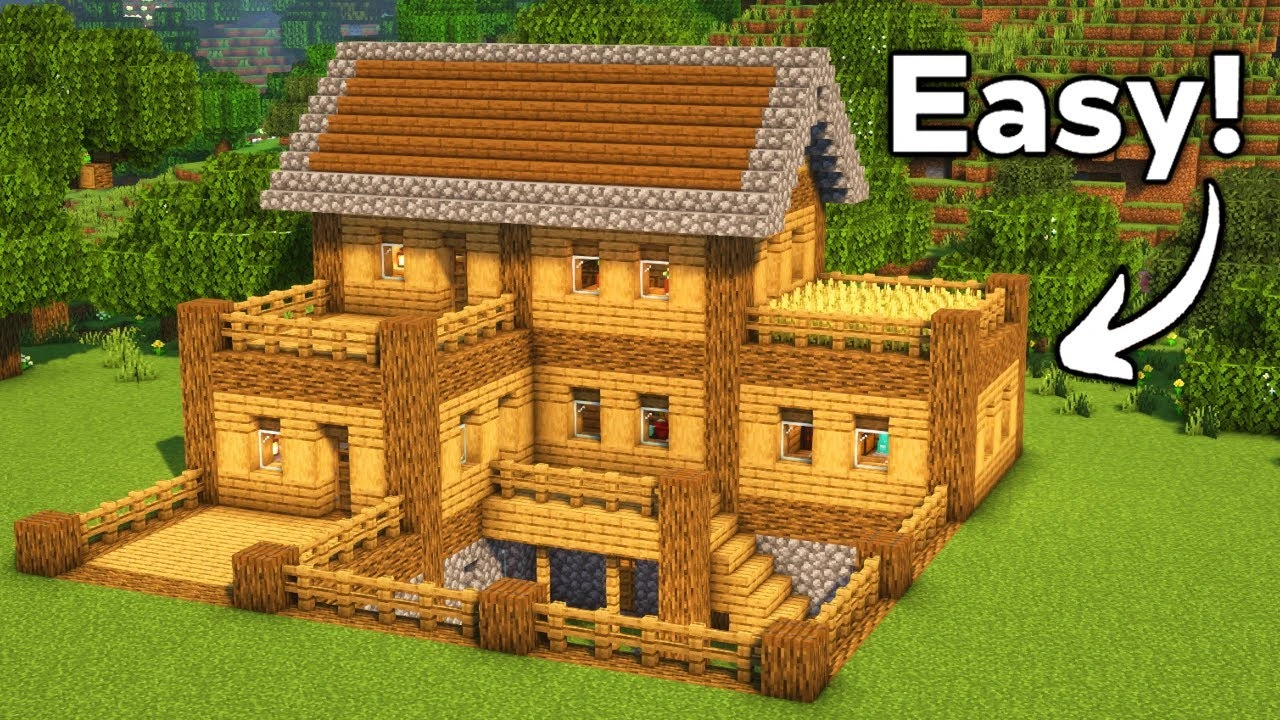
Have you just embarked on your Minecraft Survival adventure and is your anxiety increasing as the hours progress? Don’t worry. Before the monsters appear, we can build a modern Starter Survival House that will keep you safe, meet your basic needs, and also appeal to your eyes.
Contents
- Why Choose This Starter Survival House Design?
- Required Materials: First Day Inventory ⛏️
- Step-by-Step Building Guide 🧱
- 1. Foundation and Floor Frame (Estimated: 00:00 – 02:00)
- 2. Walls and Window Placement (Estimated: 02:00 – 04:00)
- 3. Roof and Detailing (Estimated: 04:00 – 07:00)
- 4. Interior Layout and Landscaping (Estimated: 07:00 – 09:07)
- Pro Player Commentary: “Architect_Pro” 📐
- House Improvement Ideas (Survival Base!) 🚀
- Conclusion: Your Starter House is the Foundation of Your Success ✅
This Starter House guide is ideal for quickly setting up a shelter without wasting your valuable resources, especially in the first days. The video content offers a step-by-step path that not only provides protection but also beautifies the structure with small architectural details. Let’s begin the Quick House Building process!

Why Choose This Starter Survival House Design?
First night survival houses are usually box-shaped and lack aesthetics. This Starter Survival House allows you to achieve a small but stylish appearance with easily found blocks like oak wood and cobblestone while maintaining basic functions.
Advantages of this Starter House:
- Maximum Security: The frame and wall structure provides adequate protection against Creeper explosions and Zombie attacks.
- Quick Setup: The video shows you can lay the foundation of the house in a short time. It uses Quick House Building techniques.
- Double-Layer Protection: The cobblestone foundation better isolates the wooden structure from monsters and creates a visual contrast.
- Basic Production Center: Inside there is a Crafting Table, Furnace, and sufficient Chest space.
The structure in this Minecraft Guide is both a practical and visually pleasing solution to lay a solid foundation for your Survival adventure.
Required Materials: First Day Inventory ⛏️
While preparing your inventory for this Starter Survival House, we’ll focus on the most abundant and easiest to collect wood and stone resources in nature. Basic materials you’ll need for this step-by-step guide:
| Material Name | Quantity (Approximate) | Usage Area | Priority Level |
| Oak/Birch Wood (Planks) | 5 Stacks (320 pieces) | Walls, floor, fences | ⭐⭐⭐⭐⭐ |
| Cobblestone | 3 Stacks (192 pieces) | Foundation, fireplace (interior furnace), path | ⭐⭐⭐⭐⭐ |
| Oak Stairs | 50-60 pieces | Roof slope and detailing | ⭐⭐⭐⭐ |
| Glass Panes/Blocks | 16-32 pieces | Windows, interior lighting | ⭐⭐⭐⭐ |
| Fence and Fence Gate | 1 Stack (64 pieces) | Exterior landscaping and railings | ⭐⭐⭐ |
| Door (Oak) | 1 piece | Main entrance, protection against monsters | ⭐⭐⭐⭐⭐ |
| Lantern/Torch | 10-15 pieces | Interior and exterior lighting | ⭐⭐⭐⭐⭐ |
Note: Gather materials during first day’s light as much as possible. In Survival mode, light is your greatest ally.
Step-by-Step Building Guide 🧱
Despite its 9-minute duration, the video contains quite detailed steps. We’ll optimize the Quick House Building process by completing the structure in four basic stages.
1. Foundation and Floor Frame (Estimated: 00:00 – 02:00)
The structure’s solidity and appearance starts here.
- Floor Plan: Following the video guide, mark out a compact, near-square area like 9×9 or 10×8.
- Stone Foundation: Raise the marked area one layer with cobblestone. This will add contrast to the ground and make the house look visually more solid.
- Frame: Using oak wood (or a contrasting wood type like Birch), place main pillars 4-5 blocks high at corners and designated points. This will support your walls.
2. Walls and Window Placement (Estimated: 02:00 – 04:00)
At this stage your shelter begins to take shape.
- Wall Construction: Build walls between main pillars with Oak Planks.
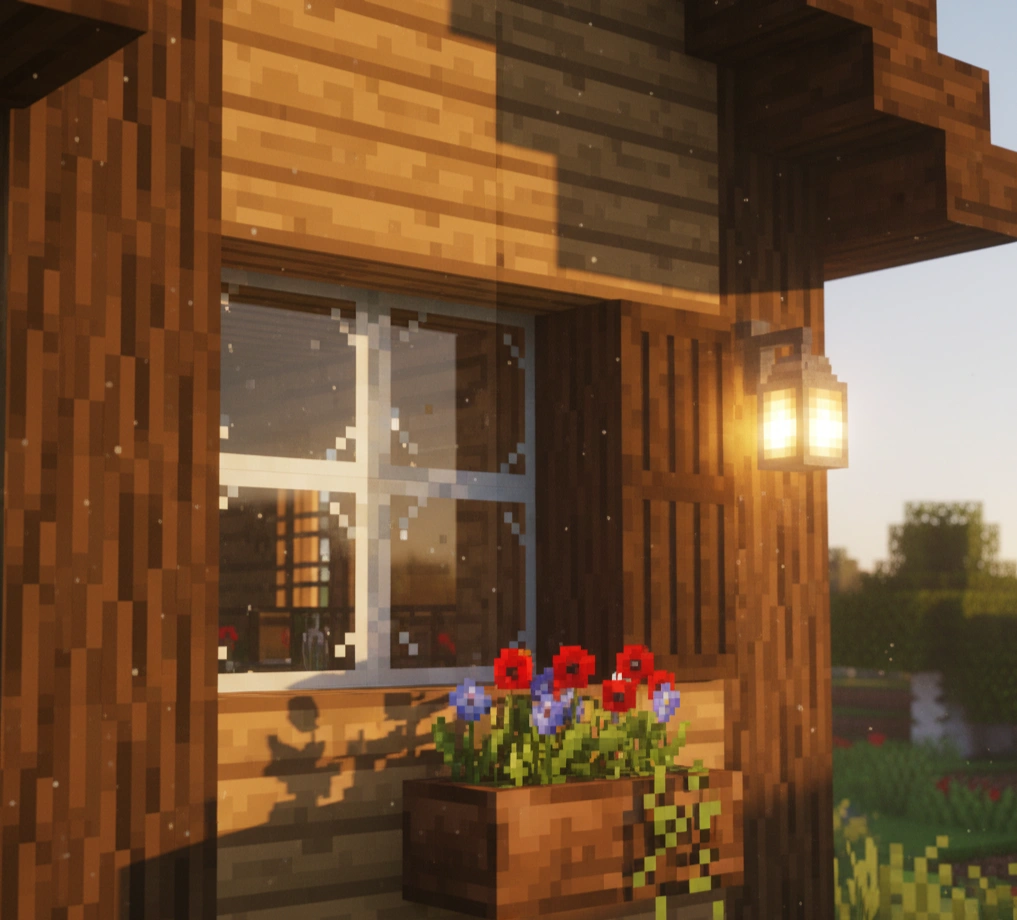
- Window Openings: Leave sufficient and symmetrical window openings to observe the outside. By placing Glass Panes, allow light to enter inside, which also prevents monsters from spawning indoors.
- Entrance: Leave enough space on the front facade to place one Door.
3. Roof and Detailing (Estimated: 04:00 – 07:00)
The roof is the most important part that completes the structure and adds aesthetics.
- Stair Roof: Create a gradual roof slope using Oak Stairs. Add an architectural shading detail by extending the first layer of the roof one block beyond the house’s outer boundary (overhang).
- Roof Peak: Close the top of the roof with Oak Slabs to soften sharp lines and provide better protection against snowfall.
- Exterior Details: Break the monotony by adding different blocks like Fence or Oak Slabs on the house exterior, under windows or between walls.
4. Interior Layout and Landscaping (Estimated: 07:00 – 09:07)
Transform your house into a functional base.
- Interior: Place vital items like Crafting Table, Furnace, and Bed along wall edges, leaving free circulation space in the middle. Don’t forget to set up a double Chest for storage.
- Lighting: Illuminate the interior with Torches or Lanterns. Remember, monsters can spawn anywhere with a light level below 7!
- Landscaping: Beautify the exterior by adding Fences around the house and planting flowers. A simple cobblestone path makes access to the house more defined.
Pro Player Commentary: “Architect_Pro” 📐
Views on this Starter Survival House from experienced architect “Architect_Pro,” who has spent thousands of hours in Minecraft in Survival and creative modes:
“This design is a perfect way for beginners to overcome ‘box house’ syndrome. While staying true to the Quick House Building principle, it looks much more settled thanks to the step-by-step details used in the roof and window frames. My pro tip is to open a mini mining tunnel accessible by a hidden ladder directly under the house. This way, you’ll be safe while mining at night and can quickly increase your stock of cobblestone and wood gathered on the first day. Also, placing Lanterns at intervals on top of the fence railings you’ll make around the house is not only aesthetic but also completely prevents monster spawning in an area up to 12 blocks. Choosing this structure as your Starter House will allow you to make a stylish entrance to Minecraft!”
House Improvement Ideas (Survival Base!) 🚀
You’ve survived your first night, now it’s time to turn this stylish Starter Survival House into a permanent Survival base!
| Improvement Area | To-Do List | Why It’s Important? |
| Mining Room | Create an underground room isolated from the house where only chests and smelting furnaces are located. | Provides organized storage and efficient resource processing. |
| Agricultural Security | Create a vertical farming wall by hanging from your house roof or using decorative blocks like cherry leaves under windows. | Saves space and gives an aesthetic appearance. |
| Animal Gate | Instead of a Fence Gate, make a piston-powered, Redstone-controlled automatic entrance gate. | Offers faster and safer entry and exit against enemies. |
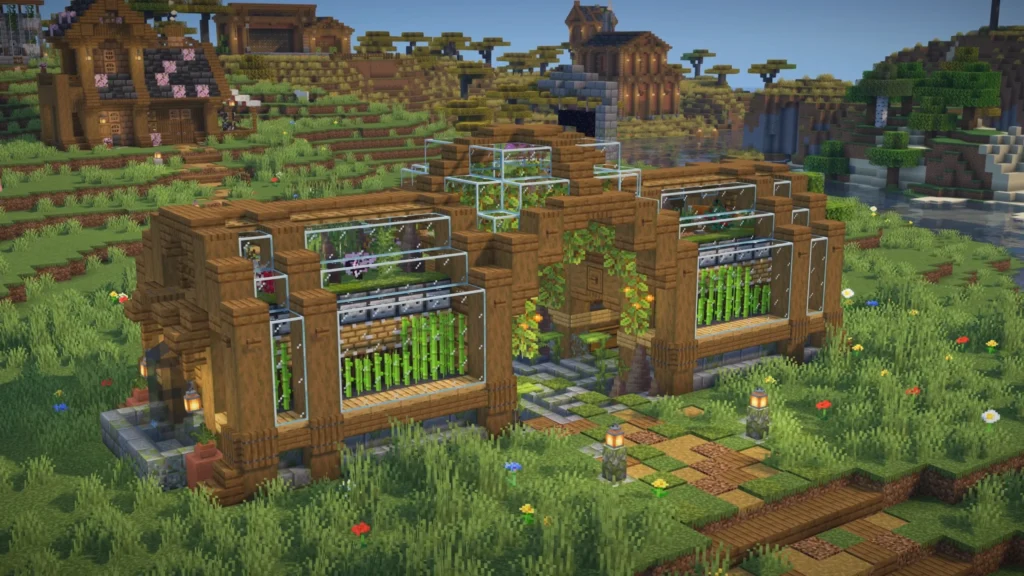
| Greenhouse/Winter Garden | Add a small winter garden made of glass next to the house to display your rare flowers or farm products. | Adds peace and architectural richness during long-term Minecraft gameplay. |
| Enchanting and Brewing Area | Start advanced equipment production by setting up an enchanting table, brewing stand, and necessary bookshelves. | Greatly increases your Survival capabilities. |
Conclusion: Your Starter House is the Foundation of Your Success ✅
Congratulations! With this step-by-step and detailed Minecraft Guide, you’ve built not just a shelter, but an aesthetic and functional Starter Survival House worthy of your Survival adventure. This structure gives you confidence in your first nights while also creating a solid foundation for your future adventures.
Remember, Minecraft House Building is not just about placing blocks side by side; it requires creativity and strategy. This Quick House Building guide has prepared you for your next big project.
Which topics would you like us to focus on for the next Minecraft Guide? Maybe we can explore Redstone systems or more complex architectural structures?

